Deploy ASP.NET Core to UpCloud
7-day free trial, capped at 2 cores / 4 GB, no fixed credit amount.
UpCloud’s trial is short — seven days from the day you add a card — but it’s enough time to build a full ASP.NET Core deployment on DotDeployer end to end before deciding whether to keep paying. Add the card only on the day you’re ready to start, since the clock begins immediately.
1. What you need
- An UpCloud account with a card on file (only a small temporary hold, never charged during the trial).
- An API token with full permissions.
- A DotDeployer account.
2. Create the account and the API credential
- Go to signup.upcloud.com, sign up with email and a password, and verify your email. Add a card when you’re ready to start the trial — it starts the moment the card is added, so do this last, not first.
- Go to Account → API tokens in the UpCloud Hub, click Create token, give it a name and an expiry, and set the permission to Full — trial accounts don’t have anything narrower to scope it to yet.
- Copy the token — it’s shown once.

3. Connect it in DotDeployer
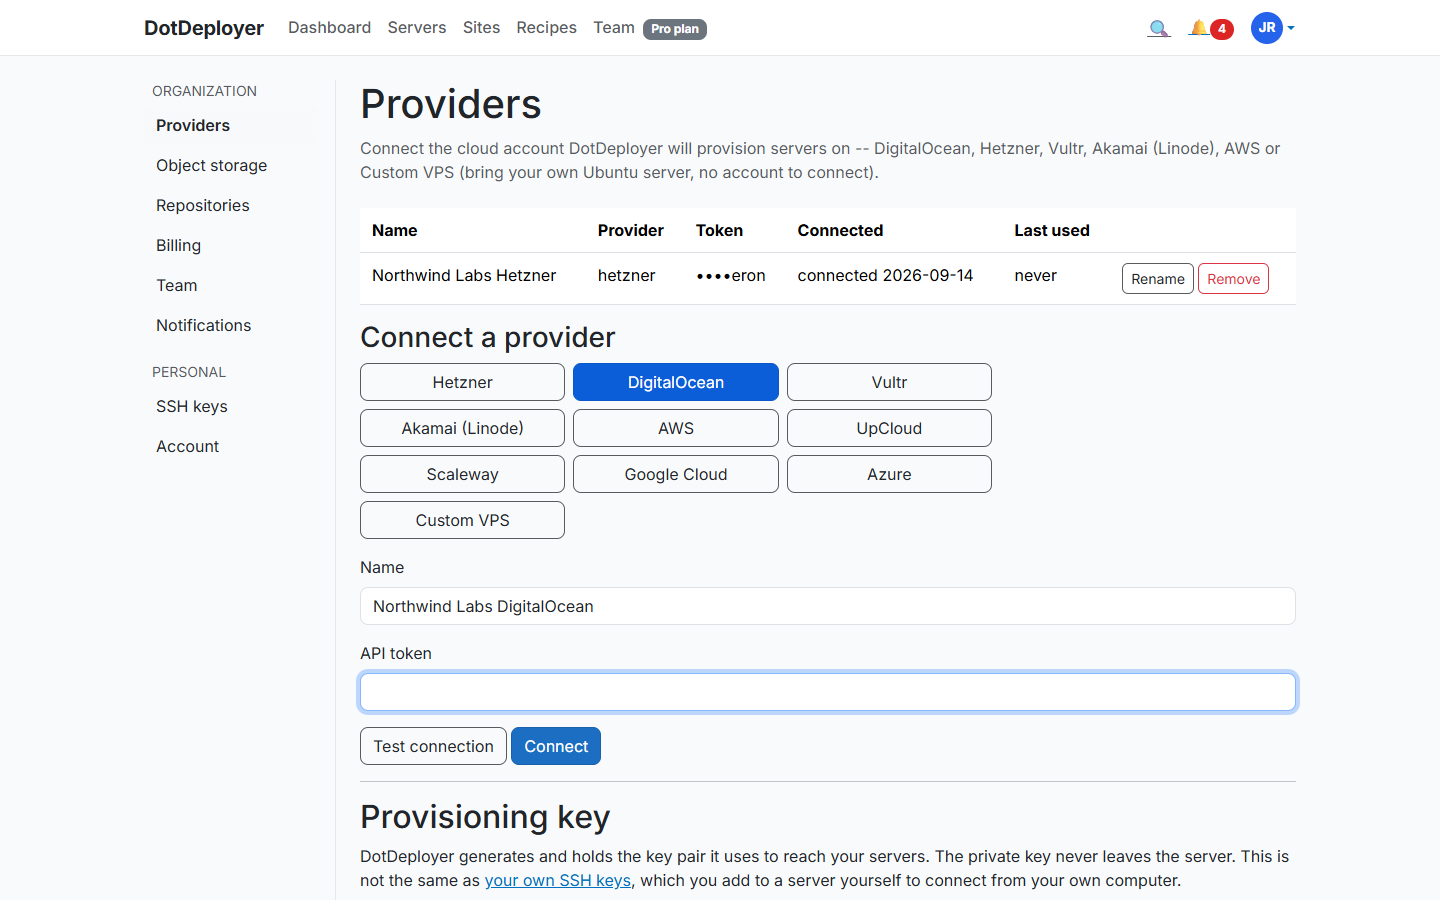
- In DotDeployer, go to Settings → Providers → Connect a provider → UpCloud.
- Enter a name and paste in the API token.
- Click Test connection, then Connect. The token is encrypted at rest.
4. Create the server
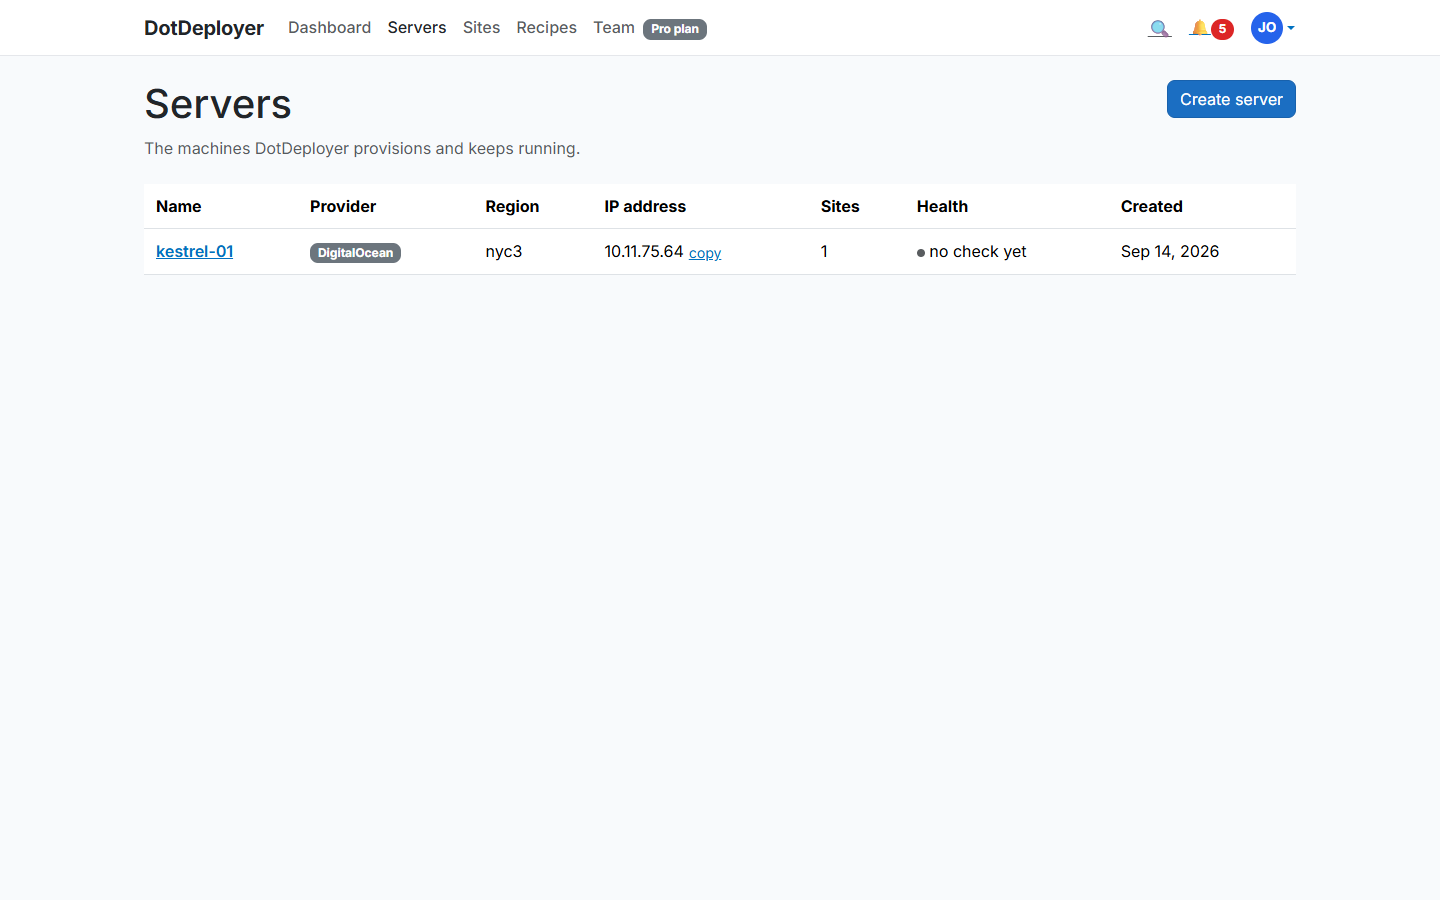
- From Servers → Create server, pick UpCloud, choose a region, and a size — the trial caps you at 2 cores / 4 GB, which is comfortably enough for a small ASP.NET Core app.
- DotDeployer provisions the server and bootstraps it: firewall, unattended security updates, the ASP.NET Core runtime, nginx. Note that the trial only allows inbound traffic on ports 22, 80 and 443, which is exactly what DotDeployer needs — nothing extra to open.
5. Add a site and deploy from GitHub
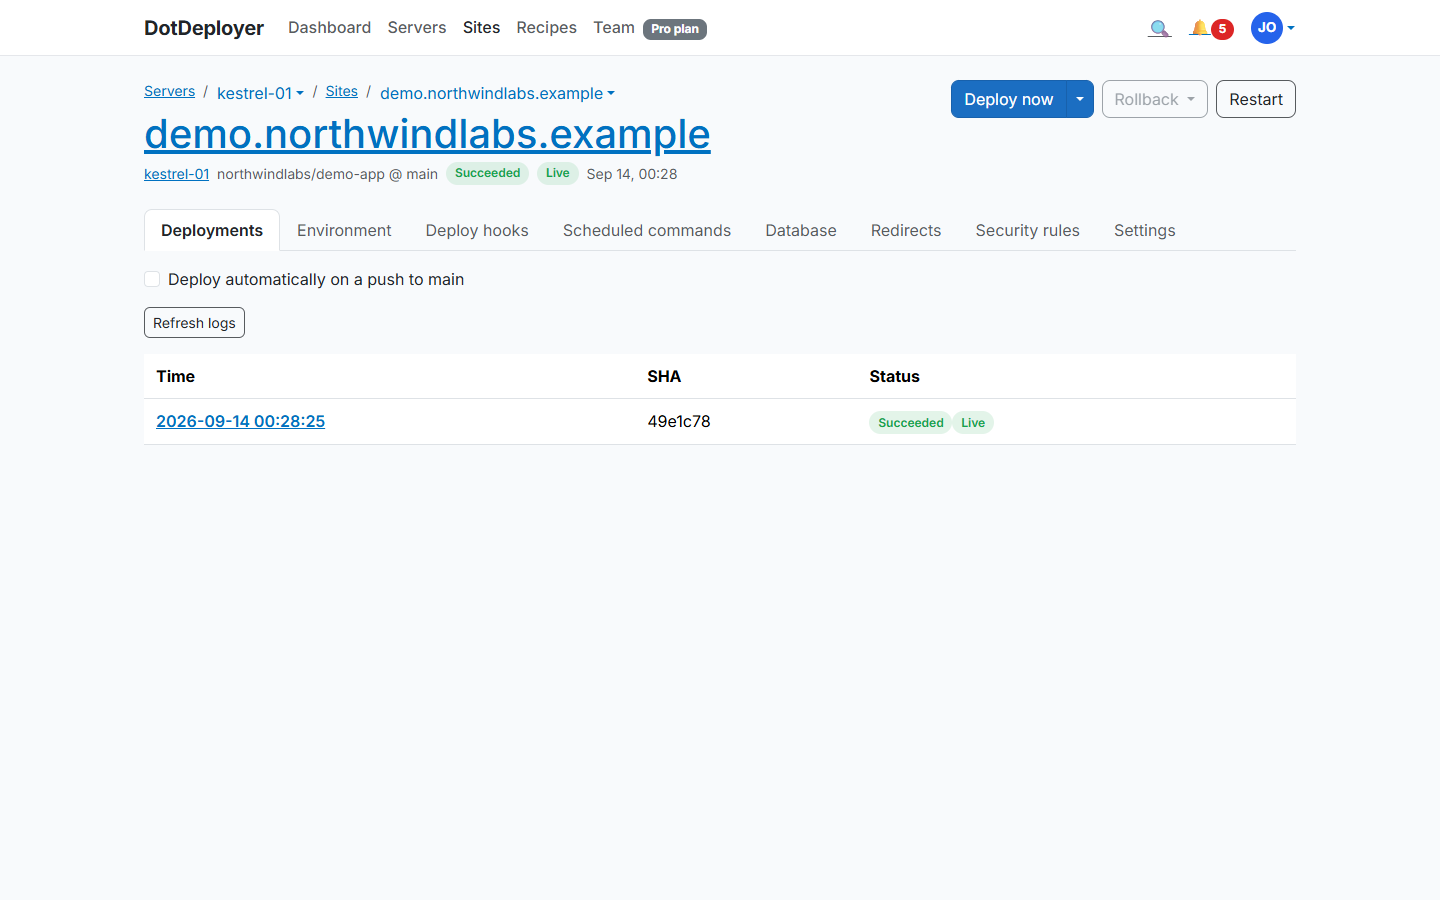
- Click Add site on the server and connect the GitHub repository you want to deploy.
- DotDeployer publishes your app, sets it up behind nginx as a systemd service, and streams the deployment log as it runs.
- Future pushes to that branch deploy automatically, with the last five releases kept on disk for an instant rollback.
6. Database and environment variables
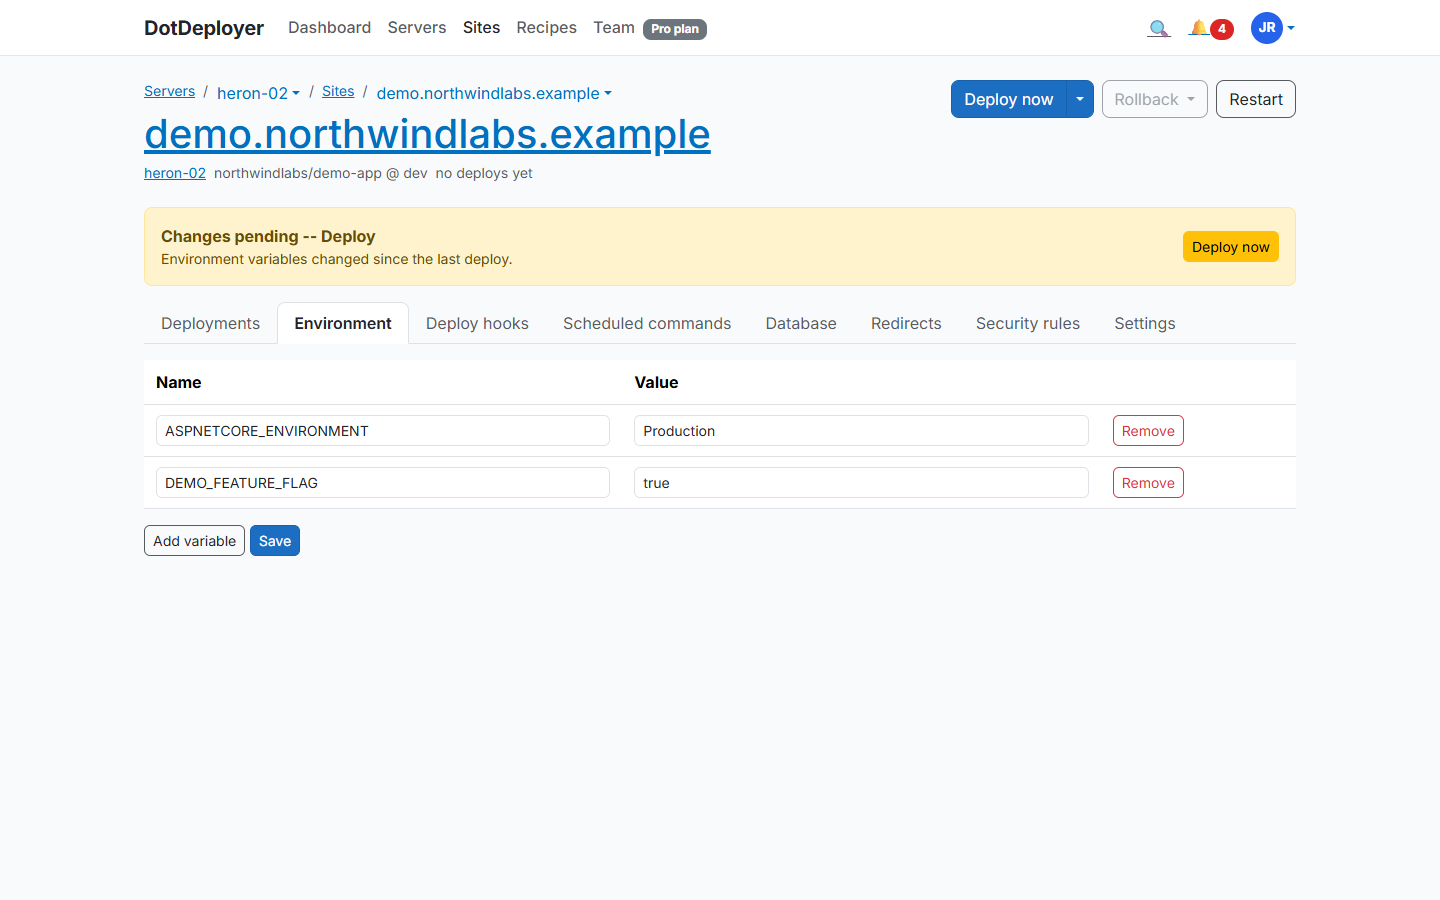
Install PostgreSQL or SQL Server on the same server from the site’s Database tab — the port
stays closed to the internet, you connect from your laptop over an SSH tunnel. Set your connection
string and other configuration under Environment variables, encrypted at rest and delivered as
a systemd EnvironmentFile, never committed to your repo.
7. HTTPS
Point an A record at the server’s IP for your domain, then add it under the site’s Settings tab (Domains section). DotDeployer requests a Let’s Encrypt certificate and renews it automatically — port 443 is already open on the trial, so this works without any extra network changes.
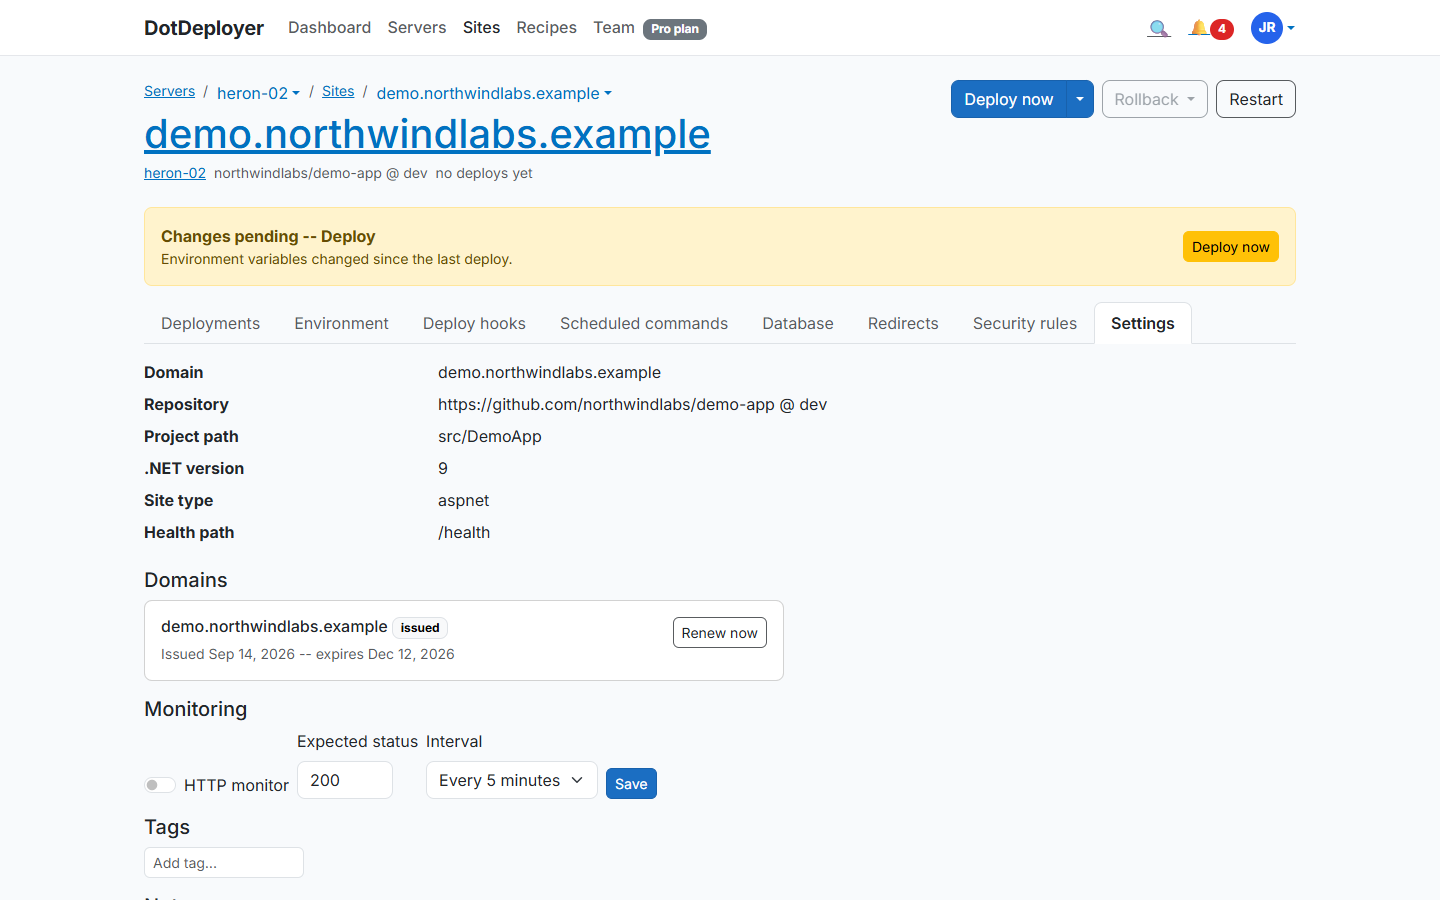
8. What to check
- The site loads over HTTPS with a valid certificate.
- The deployment log shows the latest commit as the live release.
- Destroy the server before the 7-day trial ends, and confirm it’s gone from UpCloud’s console — the trial doesn’t auto-charge, but a stopped clock is the safest one.