Deploy ASP.NET Core to Oracle Cloud
Free forever: 2 OCPU / 12 GB ARM (Always Free tier, no expiry).
Oracle Cloud is the only provider here with a genuinely free-forever tier: an ARM-based VM with 2 OCPUs and 12 GB of RAM, no time limit, as long as you keep it lightly used. DotDeployer doesn’t have a dedicated Oracle integration — instead you create the VM yourself in Oracle’s console and add it to DotDeployer as a Custom VPS, which works with any server you already have, anywhere.
1. What you need
- An Oracle Cloud account (email, phone number, and a card for identity verification only — the Always Free tier never charges it).
- About ten minutes for Oracle to provision your tenancy after signup.
- A DotDeployer account.
2. Create the account and the VM
- Go to oracle.com/cloud/free and start a free account. Oracle asks for email verification, your name and address, phone verification, and a card — this is an identity check only; the Always Free resources never bill it.
- Pick a home region when asked (any region works; it can’t be changed later, so pick one close to your users). Leave the account on Free Tier — don’t upgrade to Pay As You Go yet.
- Once the welcome email arrives, open the Oracle Cloud console and go to Compute → Instances → Create instance.
- Give it a name. Under Image and shape, change the image to Canonical Ubuntu 24.04 and the shape to Ampere → VM.Standard.A1.Flex, then set it to 1 OCPU and 6 GB memory (you can go up to 4 OCPU / 24 GB total across your Always Free VMs). If Oracle says the shape is out of capacity, try a different availability domain and retry later — this is common on new accounts and clears up.
- Under Networking, make sure Automatically assign public IPv4 address is checked.
- Under Add SSH keys, choose Generate a key pair for me and save both files somewhere safe — this is your own emergency access to the box; DotDeployer will add its own key separately in the next section.
- Click Create, and once the instance shows Running, copy its Public IP address.
- Open the instance’s Subnet → Security Lists → Default Security List, and add ingress rules
for TCP ports 80 and 443 from
0.0.0.0/0(port 22 is open by default) — Oracle’s network firewall blocks these until you explicitly allow them, on top of the OS firewall DotDeployer sets up for you.

3. Connect it in DotDeployer
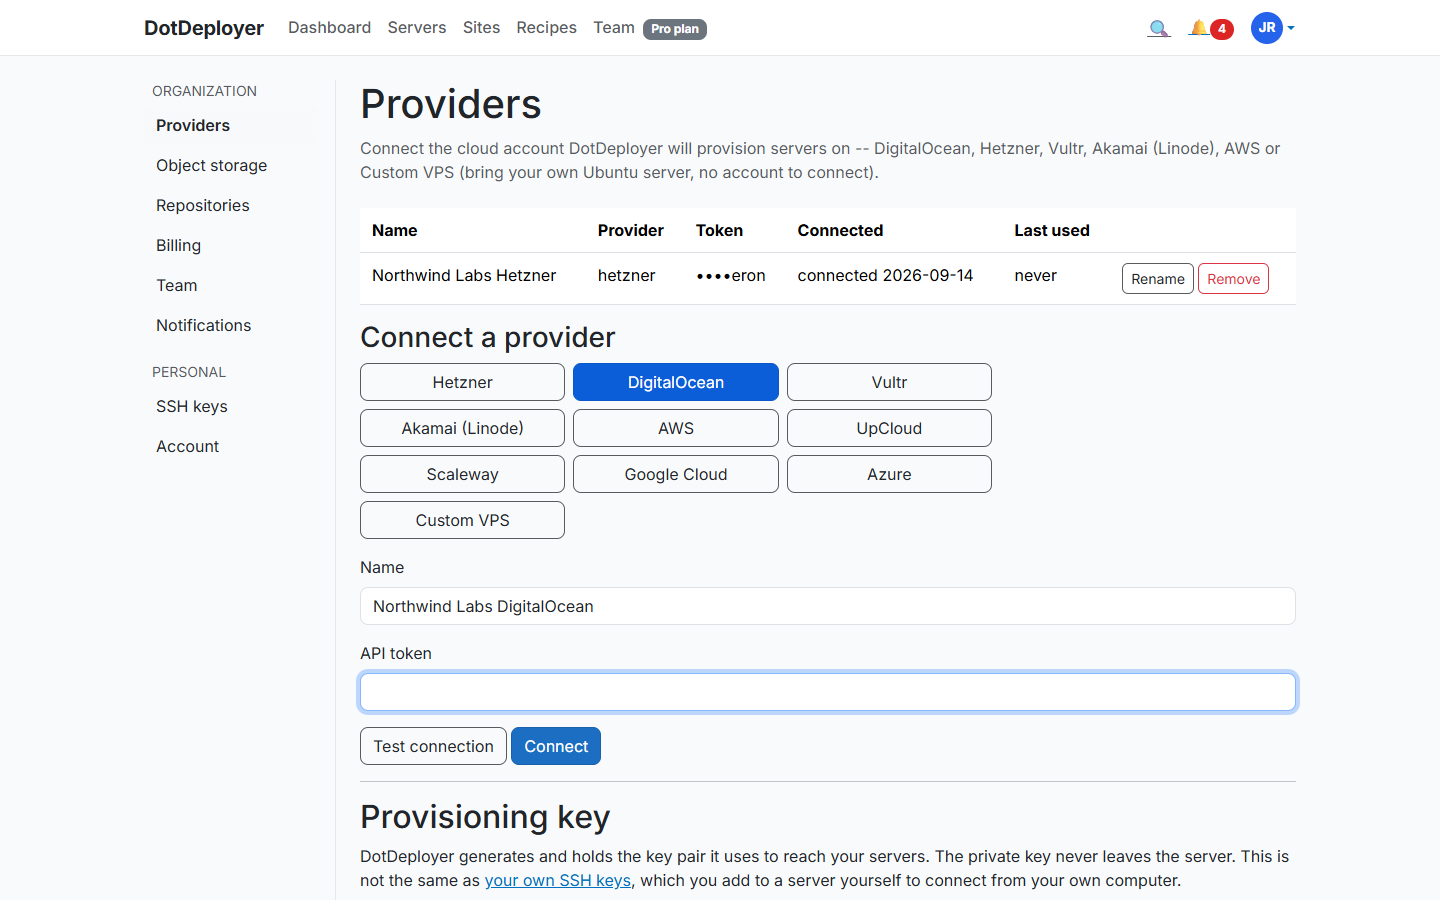
A Custom VPS doesn’t use an API token — instead DotDeployer installs its own SSH key on the box for ongoing access.
- In DotDeployer, go to Settings → Providers → Custom VPS → Provisioning key → Generate, and copy the public key it shows you.
- SSH into your new VM as
ubuntuusing the key pair from step 2.6, then add DotDeployer’s public key toroot’sauthorized_keys(Oracle’s Ubuntu image blocks direct root SSH by default — DotDeployer’s bootstrap step handles that for you once its key is in place). - Back in DotDeployer, go to Servers → Add server → Custom VPS, paste in the VM’s public IP, and give it a name. DotDeployer connects with its own key and bootstraps the box: firewall, unattended upgrades, the ASP.NET Core runtime, nginx and everything else it needs to run your app.
4. Create the server
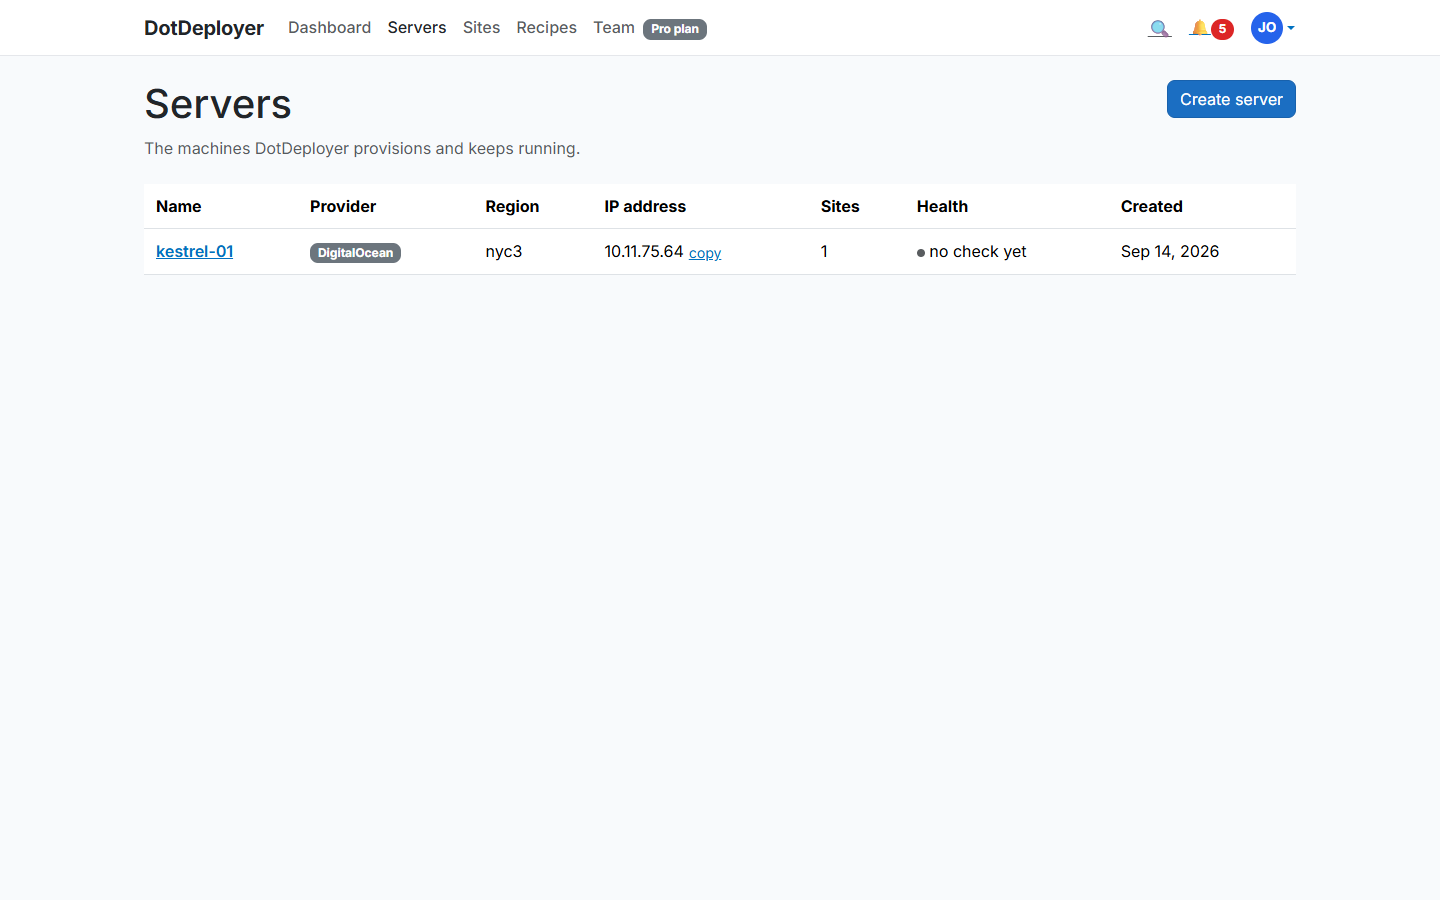
There’s no separate “create” step for Custom VPS the way there is for a cloud provider — adding the server in the step above is the provisioning step, since the VM already exists. Once bootstrap finishes, the server shows Active in DotDeployer’s Servers list with its IP, OS and free disk space.
5. Add a site and deploy from GitHub
- From the server, click Add site, connect your GitHub account (or the GitHub App you’ve already installed) if you haven’t, and pick the repository and branch to deploy.
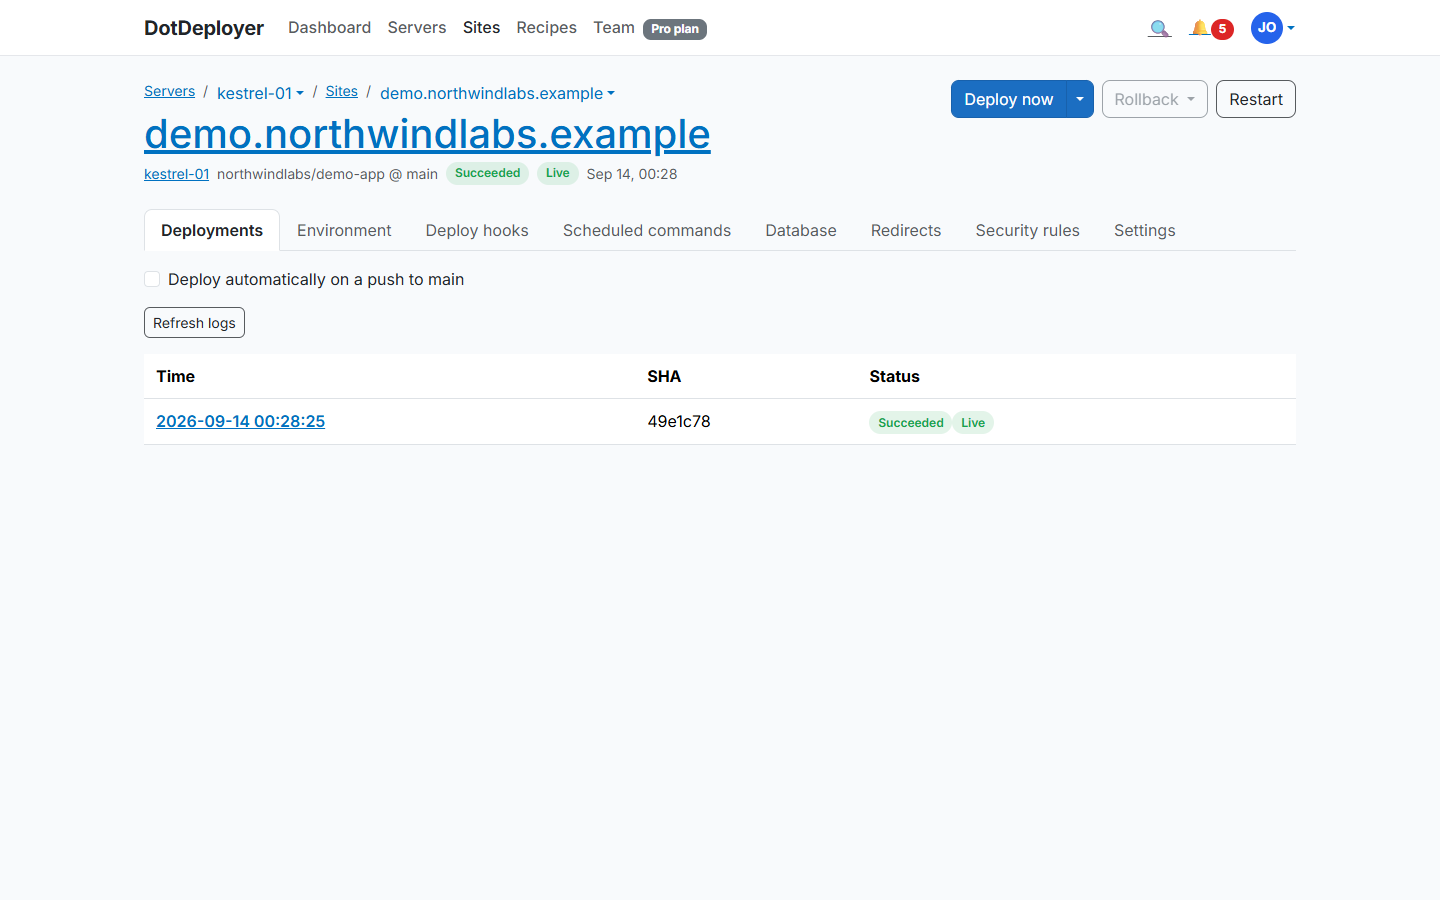
- DotDeployer publishes your ASP.NET Core or Blazor app on the server, wires it up behind nginx on a systemd service, and shows you the deployment log line by line as it runs.
- Every subsequent push to that branch triggers a new release automatically — DotDeployer keeps the last five releases on disk so a rollback is instant if one goes bad.
6. Database and environment variables
From the site’s Database tab, install PostgreSQL or SQL Server directly on the same VM in one
click — DotDeployer creates the database, a dedicated login, and never opens the database port to
the internet; you reach it from your own machine through an SSH tunnel, the same model Laravel
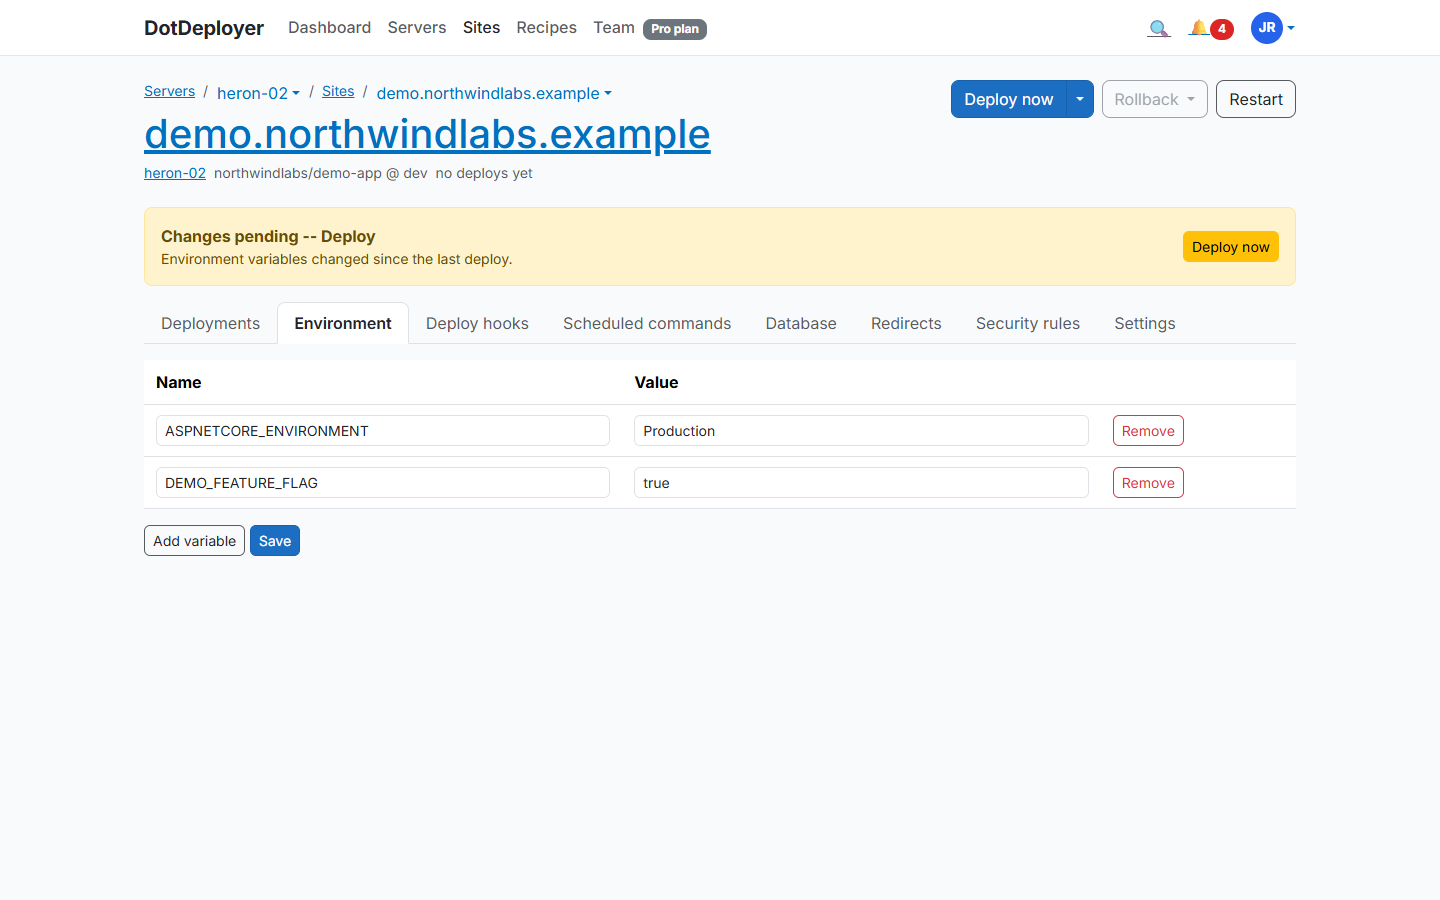
Forge uses. Add your connection string and any other secrets under the site’s Environment
variables tab; they’re stored encrypted and written to the server as a systemd
EnvironmentFile, never committed anywhere.
7. HTTPS
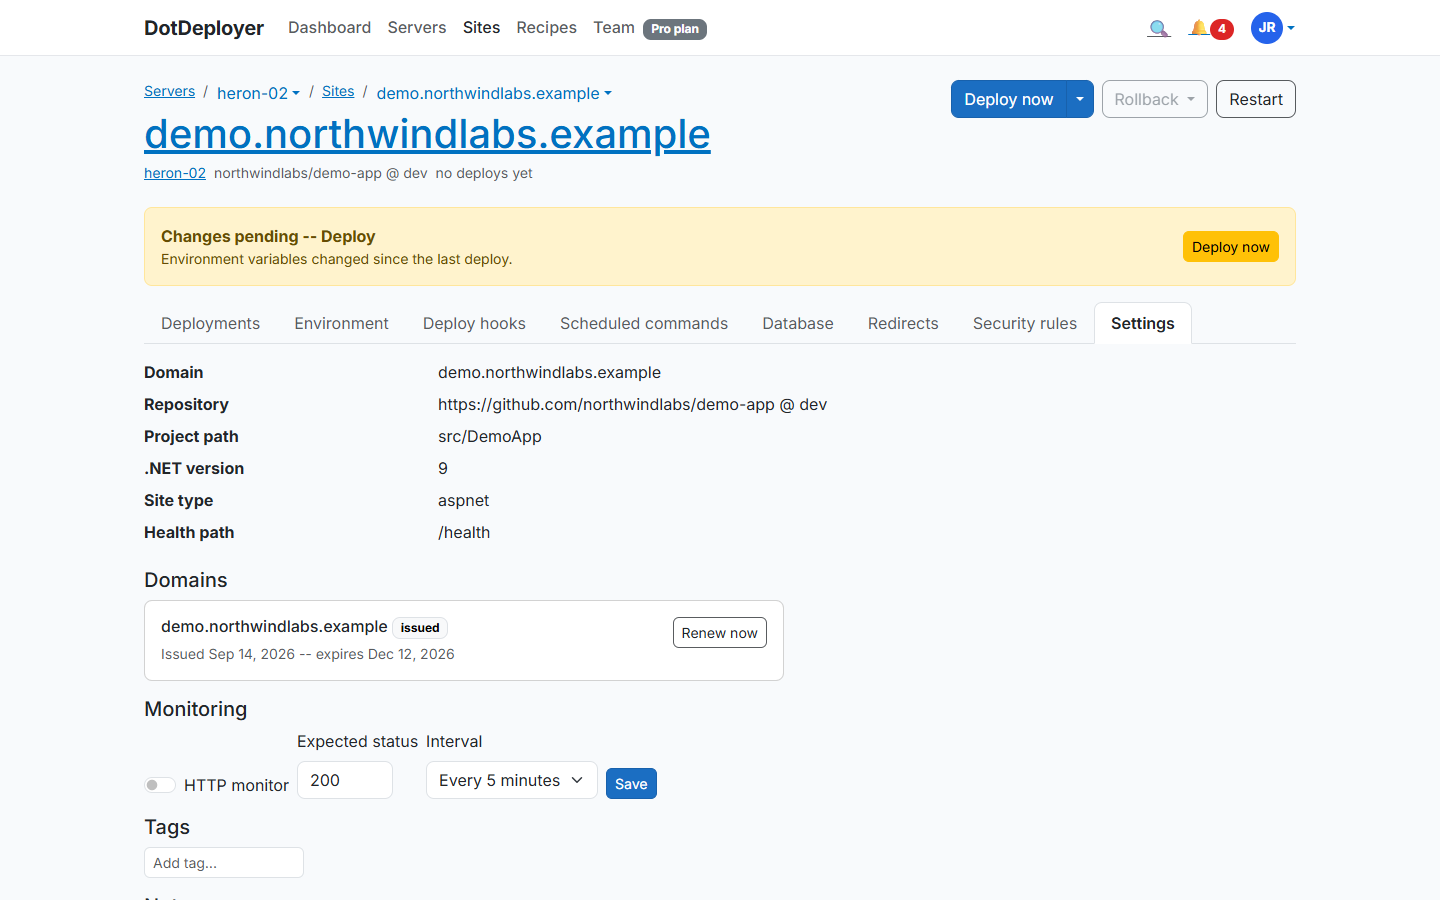
Point an A record at the server’s public IP for whatever domain you’re using, then add that domain under the site’s Settings tab (Domains section) in DotDeployer. DotDeployer requests and installs a Let’s Encrypt certificate automatically and renews it before it expires — there’s nothing to run by hand.
8. What to check
- The site loads over
https://with a valid certificate and no mixed-content warnings. - The deployment log shows the latest commit as the currently live release.
GET /health(or whatever health check your app exposes) returns healthy in the server overview.- Oracle’s own console still shows the instance as Running and within your Always Free limits — idle VMs under 20% utilization for a full week can be reclaimed, so a live app with real traffic is safe, but a VM you spin up and never touch may not stay free forever.
See the Oracle Cloud (via Custom VPS) provider page for pricing and regions.
Join the waitlist