Deploy ASP.NET Core to Akamai (Linode)
$100 credit for new accounts, valid about 60 days.
Linode — now sold and billed under the Akamai brand — keeps the straightforward console it’s always had, backed by Akamai’s larger network. New accounts get $100 of credit good for about two months, plenty of time to build and test a small ASP.NET Core deployment.
1. What you need
- A Linode (Akamai Cloud Computing) account.
- A Personal Access Token with read/write access to Linodes.
- A DotDeployer account.
2. Create the account and the API credential
- Go to login.linode.com/signup and create an account with your email and a password. Verify your email, then fill in the account form (name, address, a card). New accounts get a $100 promotional credit shown under Billing → Promotions — the trial isn’t charged while that credit lasts.
- Go to cloud.linode.com/profile/tokens and click Create a Personal Access Token. Give it a label, an expiry (six months is reasonable), and set Linodes to Read/Write — leave everything else you don’t need at None.
- Copy the token — Linode only shows it once.

3. Connect it in DotDeployer
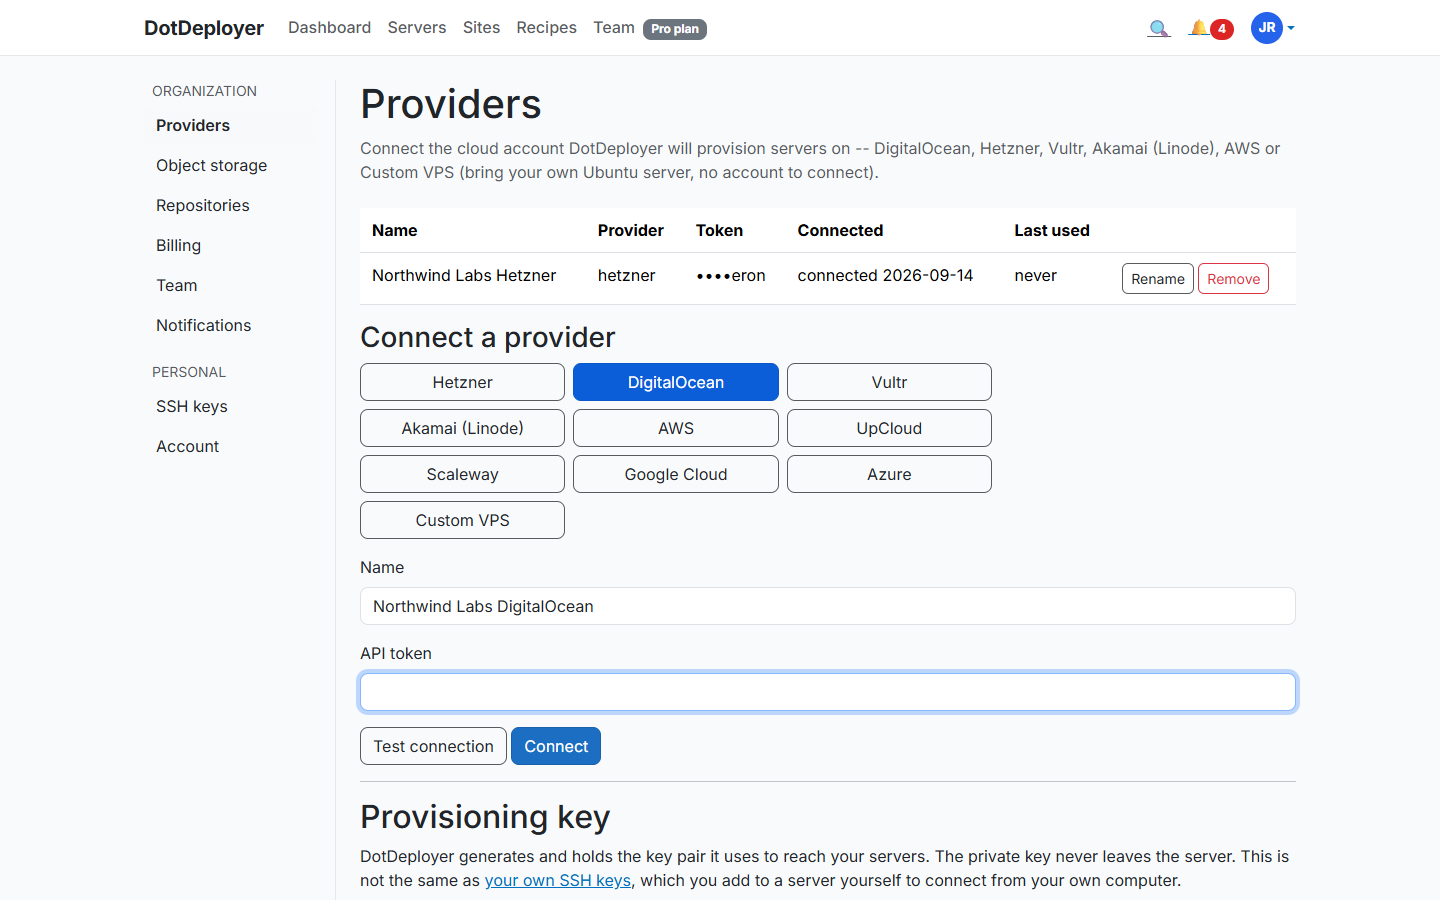
- In DotDeployer, go to Settings → Providers → Connect a provider → Akamai (Linode).
- Enter a name and paste in the API token.
- Click Test connection, then Connect. The token is encrypted at rest, and revoking it from Linode’s Cloud Manager stops DotDeployer immediately.
4. Create the server
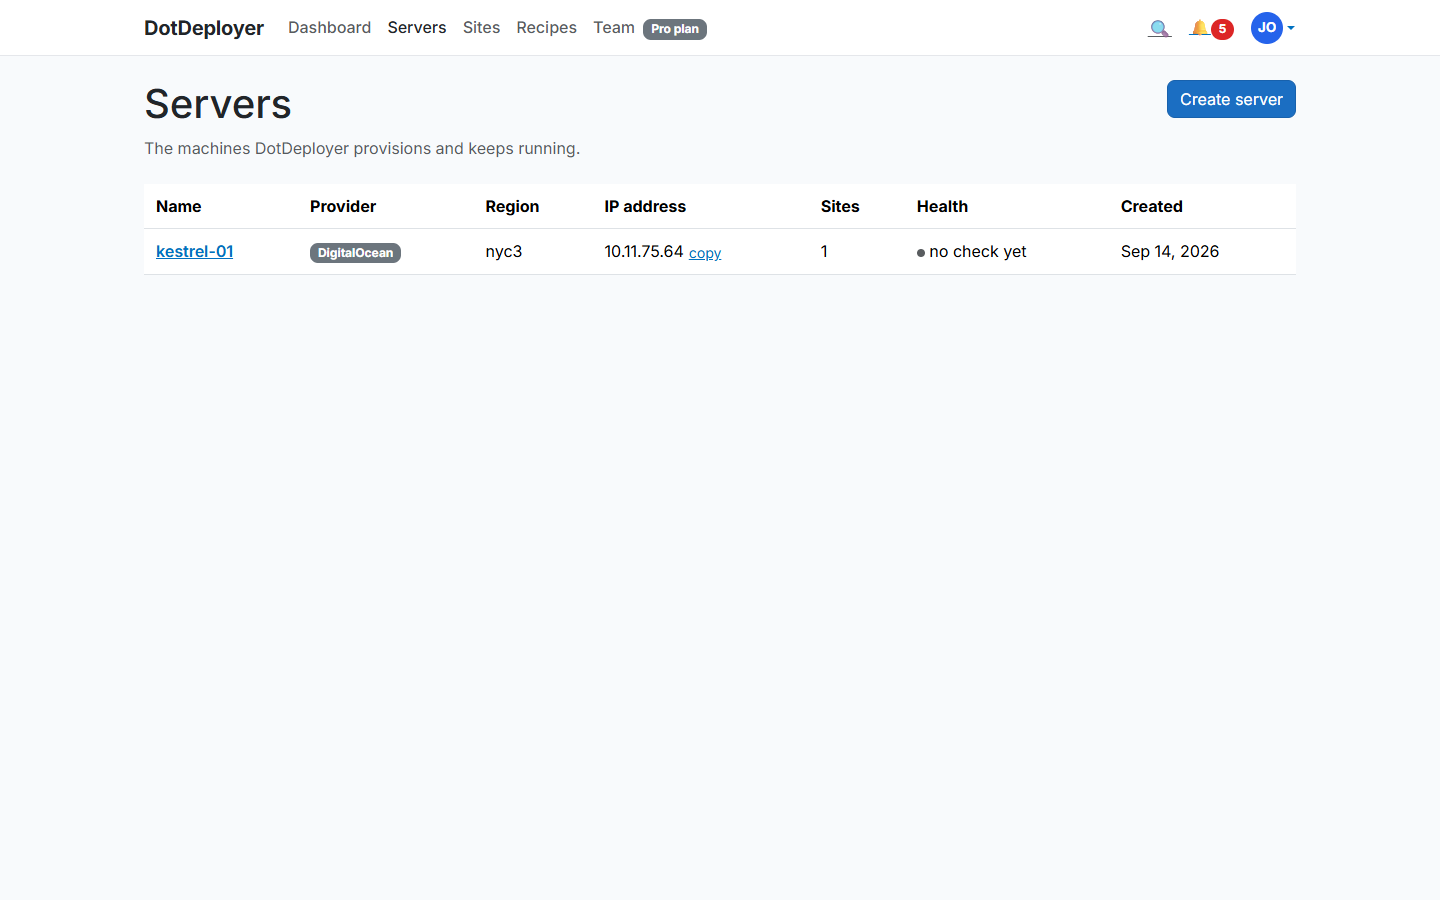
- From Servers → Create server, pick Akamai (Linode), choose a region from its worldwide list, and a size — the Nanode 1GB plan is enough to try DotDeployer out.
- DotDeployer provisions the Linode and bootstraps it: firewall, unattended security updates, the ASP.NET Core runtime, nginx. It shows Active once ready.
5. Add a site and deploy from GitHub
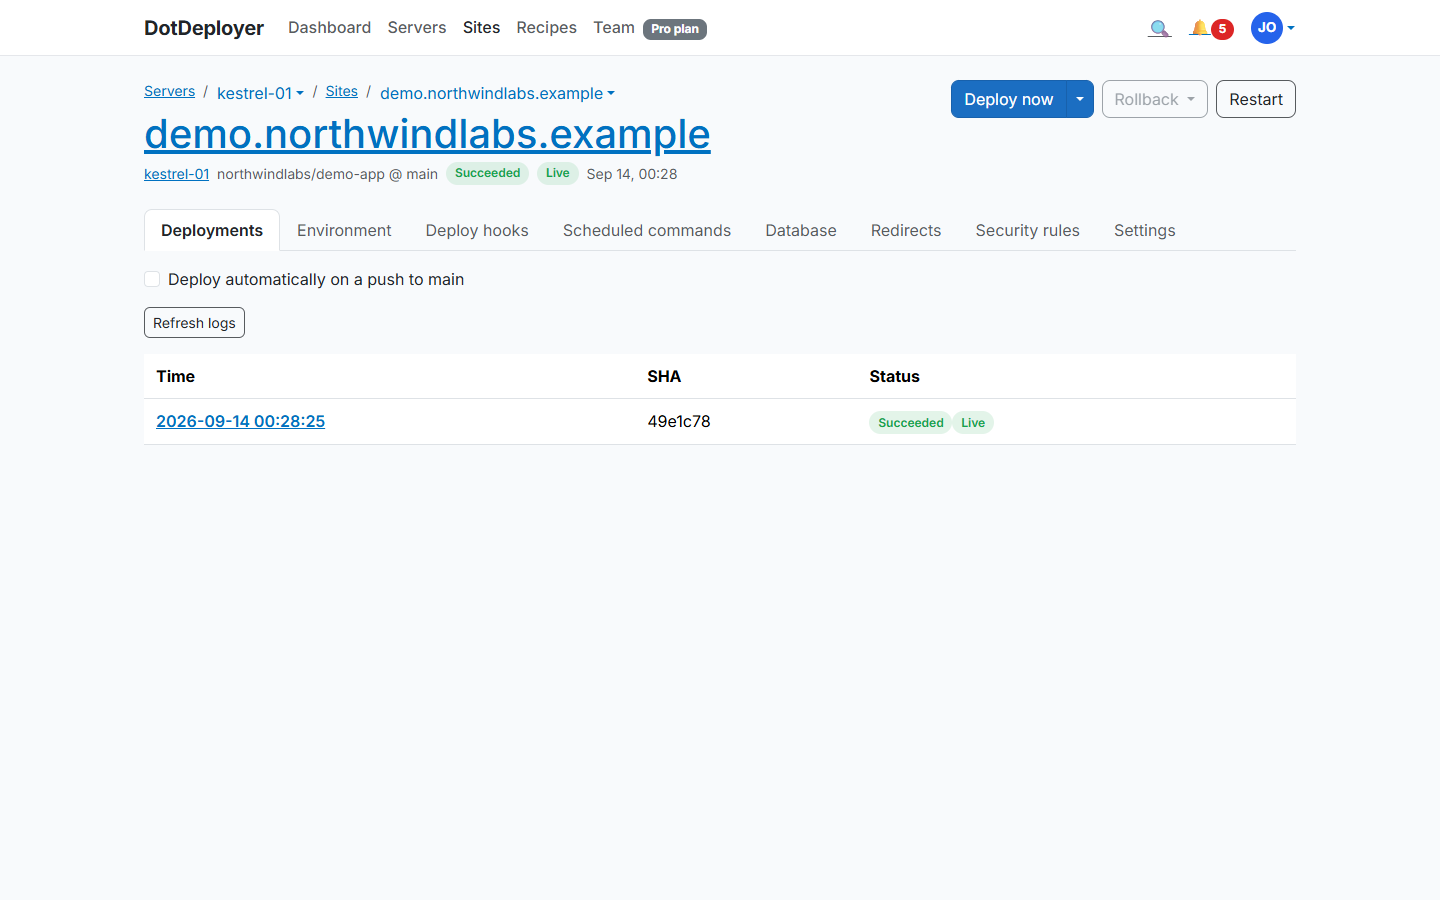
- Click Add site on the server and connect the GitHub repository you want to deploy.
- DotDeployer publishes your app, puts it behind nginx as a systemd service, and streams the deployment log as it runs.
- Every later push to that branch deploys automatically; the last five releases stay on disk so a rollback is instant.
6. Database and environment variables
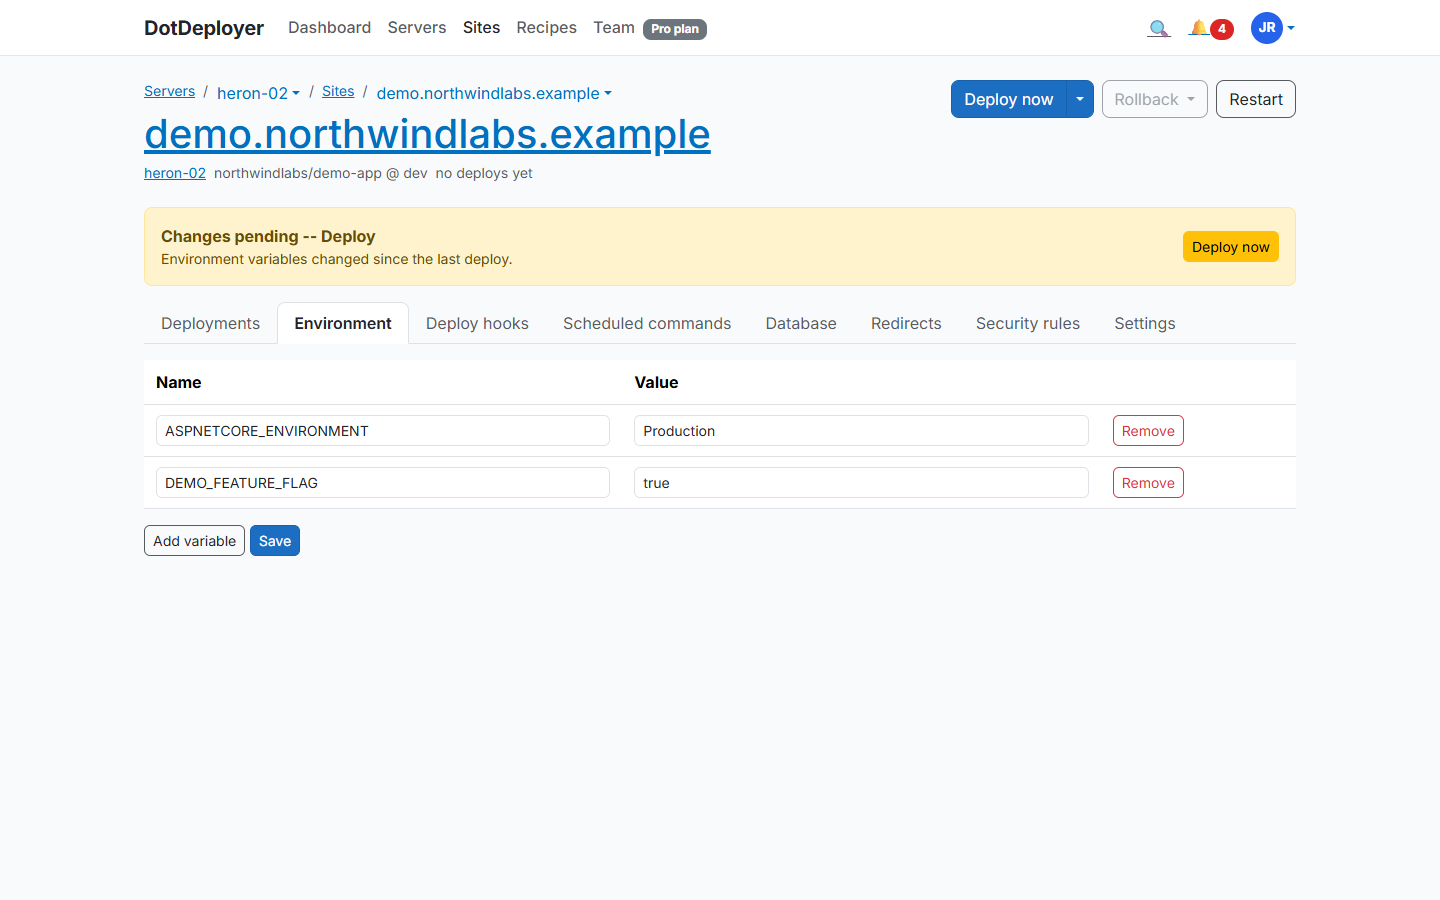
Install PostgreSQL or SQL Server on the same Linode from the site’s Database tab — the port
never opens to the internet, you reach it from your laptop through an SSH tunnel. Add your
connection string and other configuration under Environment variables, encrypted at rest and
delivered as a systemd EnvironmentFile, never committed to your repo.
7. HTTPS
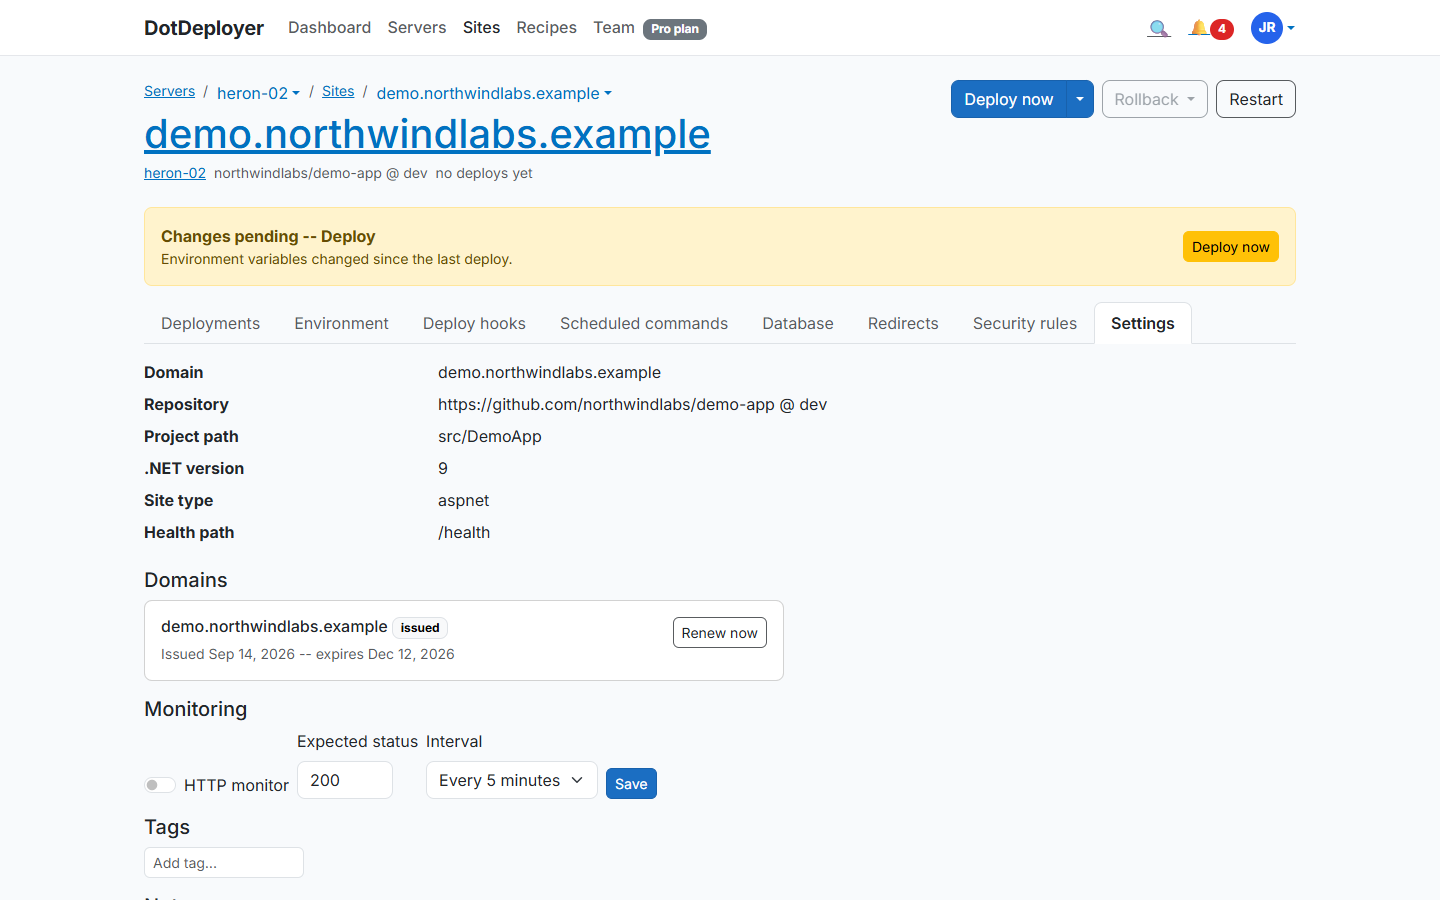
Point an A record at the Linode’s IP for your domain, then add it under the site’s Settings tab (Domains section). DotDeployer requests a Let’s Encrypt certificate and renews it automatically.
8. What to check
- The site loads over HTTPS with a valid certificate.
- The deployment log shows the latest commit as the live release.
- Linode’s own Billing page shows usage against the $100 credit — a Nanode 1GB is only about $5/month, so a short test barely dents it.
- Destroy the Linode when you’re done testing and confirm it’s gone from the Cloud Manager.
See the Akamai (Linode) provider page for pricing and regions.
Join the waitlist